Are you one of those who would love to rock balayage hair but don’t want to spend too much on balayage services? We can all relate to this phenomenon and that is why we have set up a step by step guide to navigating you through the process of doing a balayage treatment at home.
What Is Balayage?
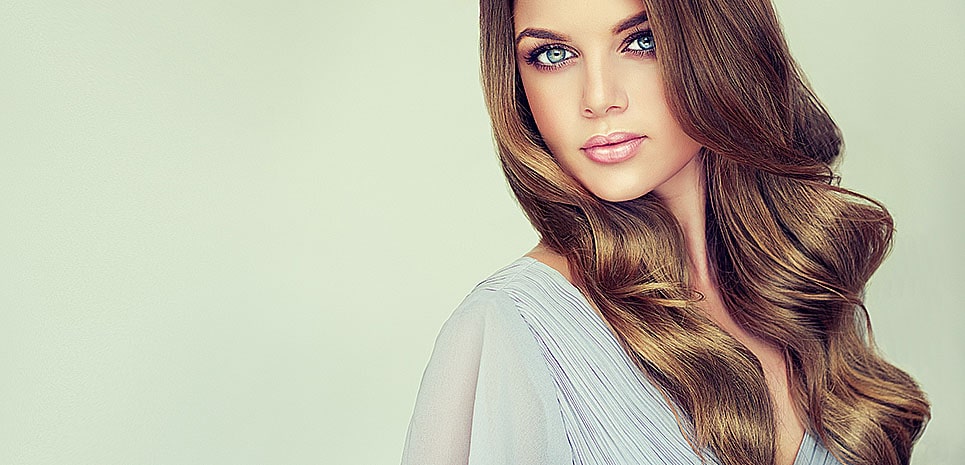
First things first. Let’s see what balayage hair highlights is? A balayage is a kind of hair bleaching process that imparts a sun-kissed look to your hair even when it’s gloomy and dark outside. The treatment works best in beach curls and it looks like certain portions of your hair have been highlighted.
How To Do Balayage At Home?
As with all chemical treatments, it is sensible enough to leave it to experts. But if you are not interested in hitting the salon, then follow the steps given below to achieve the perfect balayage look at home.
Do A Patch Test
Always do a patch test before diving in head-on for any chemical treatment. Even if you have had it done before, or the chemicals you are using you are fairly acquainted with, then also it is advisable to do a patch test to avoid any mishaps. You never know when your skin develops any reaction to the components present in the hair color.
Prep Your Hair
Shampoo your hair a night before. This will ensure maximum coverage because your color won’t have to resist any barrier like dust, oil, or any product buildup. Colors or dyes function well on clean virgin hair.
Prep Your Tools
You will need a hair color, a developer, a hair toner, and shampoo. Also, a hairbrush, a wide-toothed comb, some hair ties or hair clips, a mixing bowl, an old t-shirt or cape to protect your clothes from staining, and a barrier cream or petroleum jelly. If you don’t have anyone to assist you, make sure that you have all items ready in front of you. Place a couple of mirrors behind you as well so you can see well the areas where you have touched or not.
Follow The Instructions
To achieve optimum results, follow the instruction for mixing the color and developers mentioned in the box. Since you’re a novice, don’t fiddle with them otherwise brace yourself for any disastrous results.
Cross Bun Your Hair
This is a simple technique to partition your hair. Just like a cross bun, divide your hair into four equal portions. Starting from the center and extending to the back of your head makes half the portion. Further, from one ear to the other, you will get two more equal portions.
Apply Barrier Cream
Use petroleum jelly as a barrier cream to avoid contact with the skin. Also, cover your hairline with the jelly.
Color Selection
Use a color that is three shades lighter to your hair’s natural color for the optimum effect.
Section By Section
Now, start by coloring your hair in portions. Take a bunch at a time and saturate it completely in the hair color. Avoid touching your roots because for balayage hair highlights, you do not color the roots. Only hair upwards is highlighted. Working on a smaller portion at a time will ensure that you have covered all sections.
Check If It’s Working
Scrap off the color from your hair to see if the color is working well or not. This will also determine how long you want your color to sit in your hair. Set a timer in your cell phone to avoid any chance of overexposure to the hair color.
Washing
After the designated time, wash the hair color off with cool water. Allow a toner as per your liking. Most hair color stylists suggest a purple or silver toner to overcome the brassy effect that you get after coloring your hair.
Conditioning
You should condition them afterwards according to the instructions on the box.
Here you go. Finally, you have overcome the biggest hurdle, and successfully balayage-d your hair at home.
If the final result doesn’t excite you, you are always open to the option of letting your hair grow out. Since you have not touched the roots, you can outgrow the balayage hair and return to your natural hair again. Moreover, for best results, go to a balayage salon. hypno
